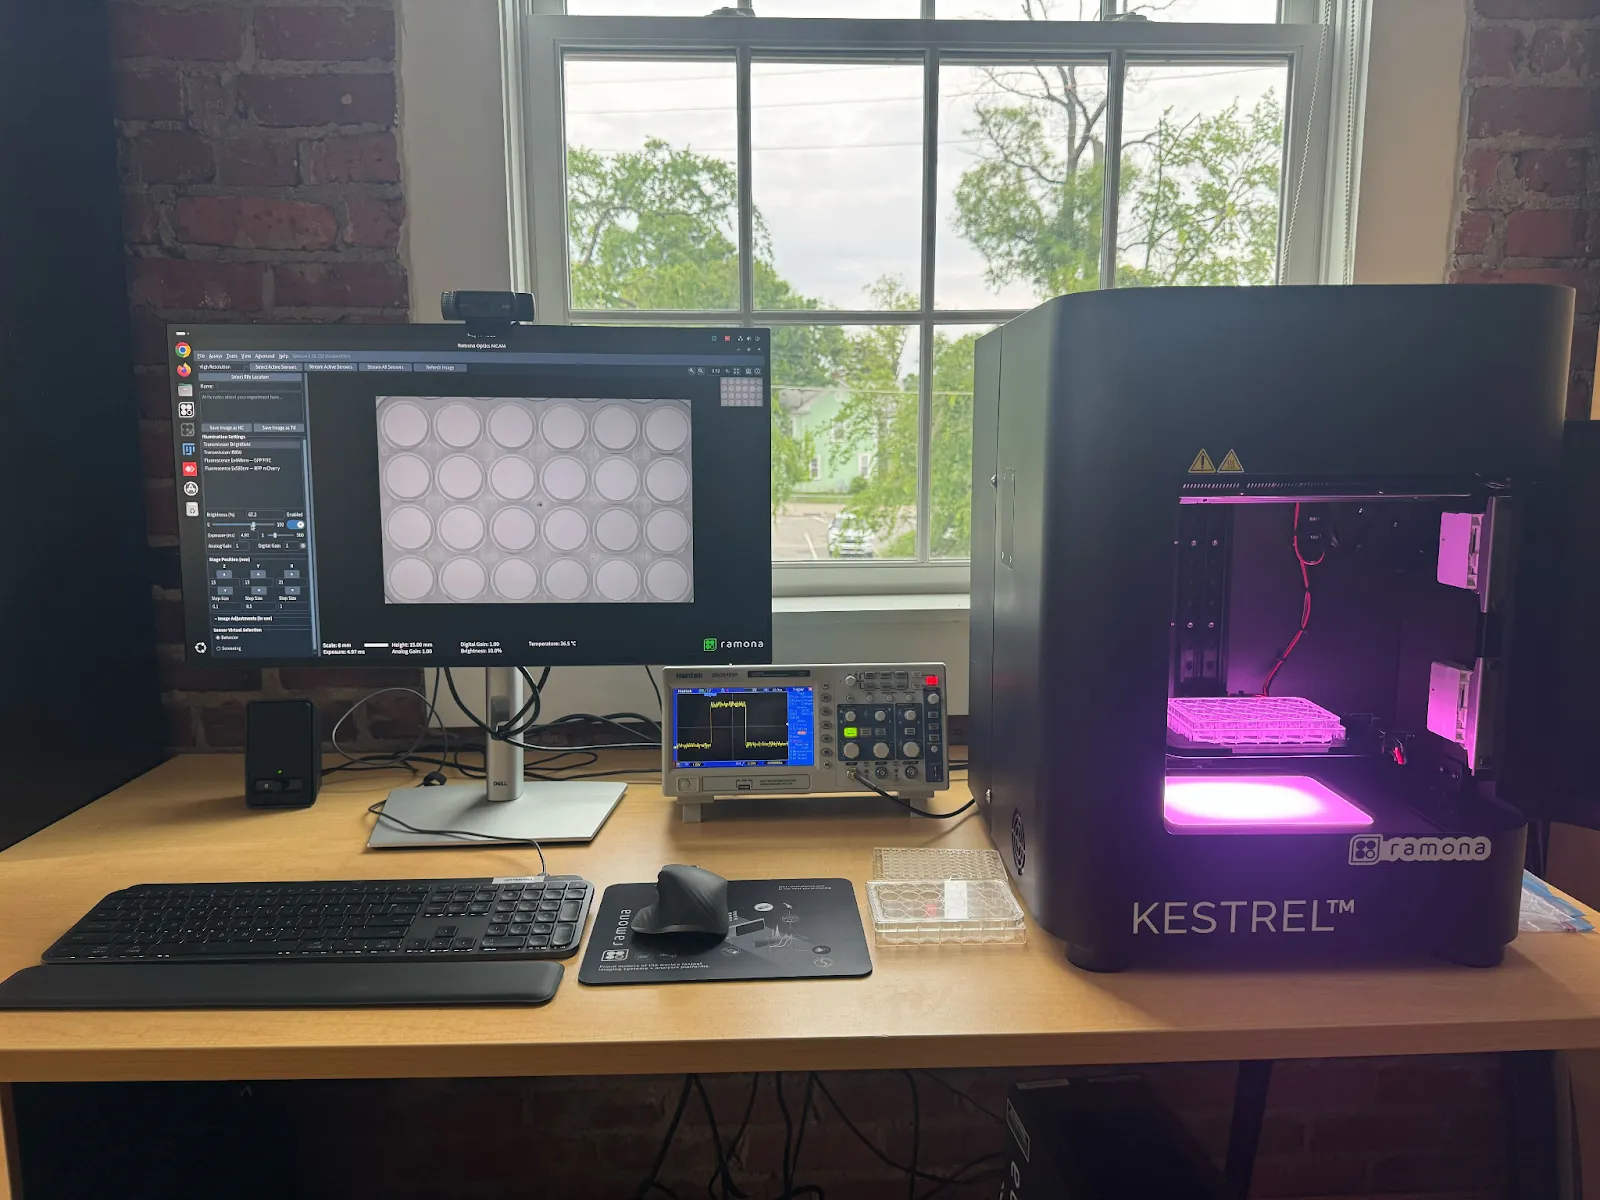
When Timing Is Everything: Unlocking the Kestrel Output Trigger
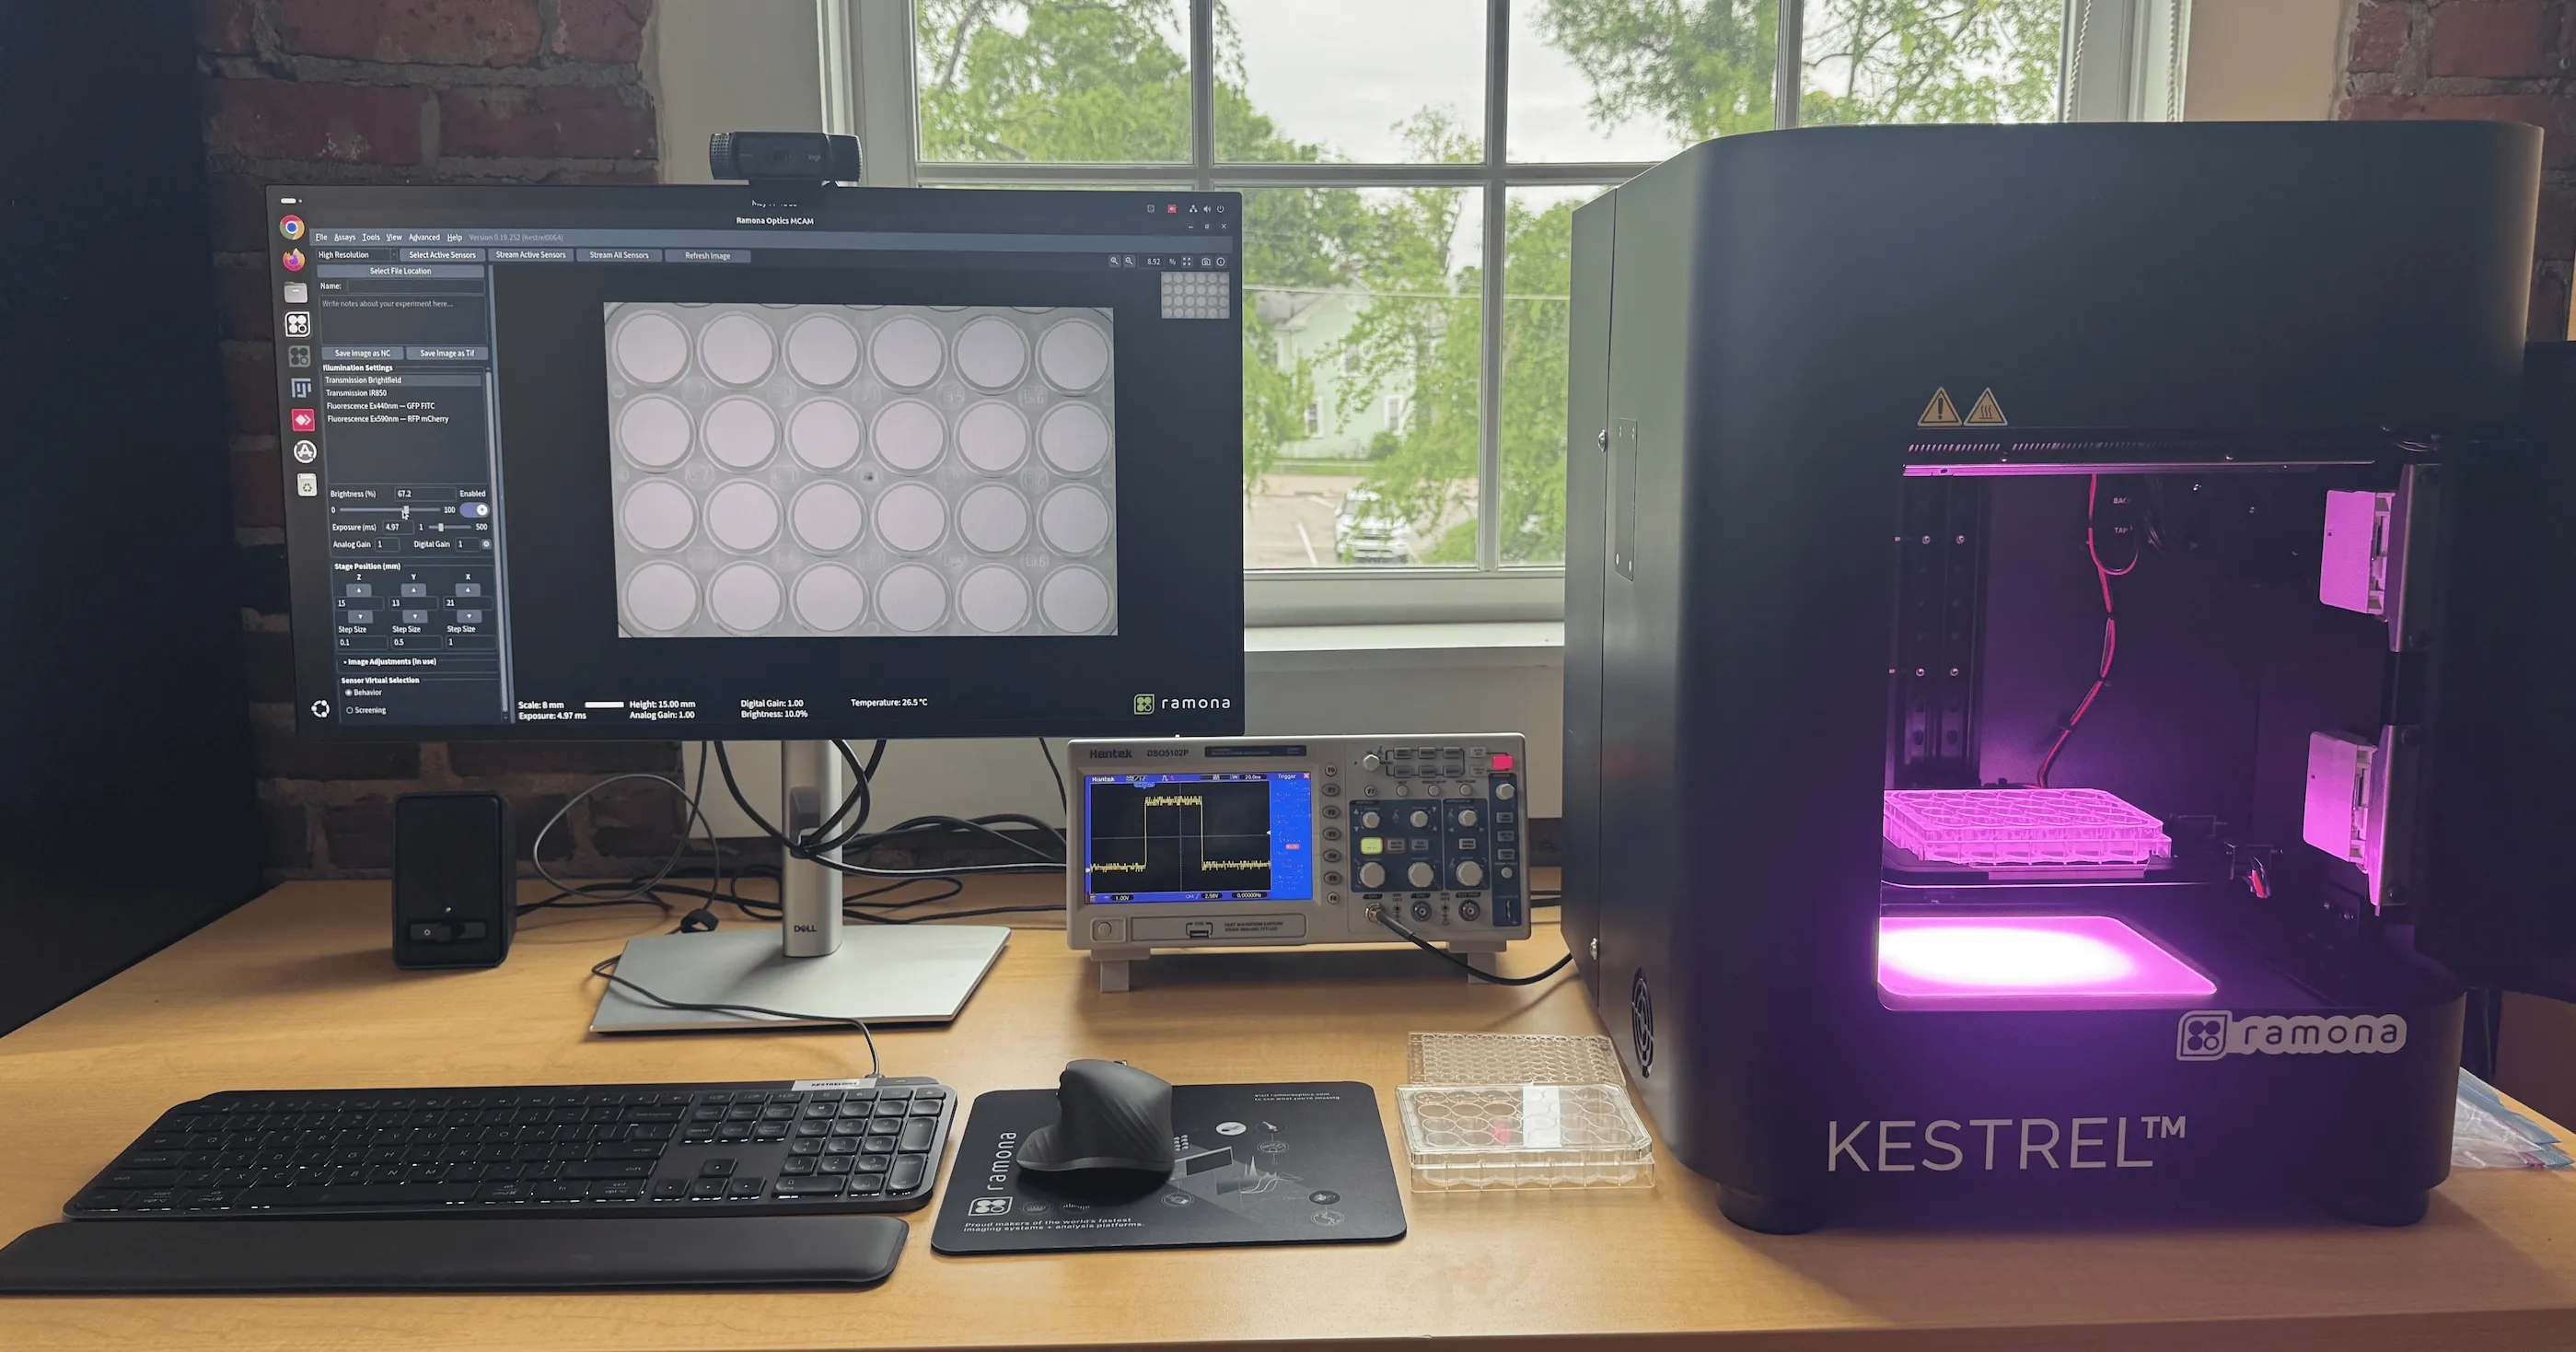

At Ramona, we design tools that invite experimentation—not just accommodate it. The Kestrel already offers powerful built-in features—customizable illumination, vibration and tap stimuli, flash control, and support for fluorescence imaging. But research doesn’t always follow the script. Sometimes, you need to sync up with another system, fire off a stimulus at just the right millisecond, or log external events alongside your video.
That’s where the output hardware trigger comes in.
Since our very first MCAM system, we’ve offered this powerful add-on to help scientists synchronize video capture with external hardware in real time. Whether you're triggering a stimulus, syncing with an external camera, or logging events on an oscilloscope, this little module opens big doors.
Why Order the Kestrel with an Output Trigger?
The output trigger is a small but mighty PCB that converts the delicate low-voltage signals from the MCAM into robust 5V pulses—perfect for downstream devices. It connects via an SMA port on the back of your MCAM and includes key safeguards:
- Reverse voltage protection (because lab mistakes happen).
- Over-voltage protection (up to 20V).
- Signal amplification to drive long cables with ease.
Lab-proof. Scientist-friendly. Built for real-world use.
Flexible Software Control
We offer five software-controlled trigger modes—use just one, or mix and match to suit your workflow:
- Snapshot Start – Pulse when a snapshot is requested.
- Snapshot First Pixel – Pulse when the first pixel of that frame is received. (The delay between these two is your exposure time—cool, right?)
- Video Start – Pulse when video capture begins.
- Video Frame First Pixel – Pulse for each frame of a video.
- Manual Control – Trigger pulses exactly when you want, mid-video, mid-flash-stimulus, mid-anything.
Want to try it out? Go to the MCAM software, connect to your device, and open the Advanced Settings → Output Trigger tab.

There’s even a Test Stimulus button to simulate events and verify downstream behavior—useful for setup and debugging.

Real Experiments, Real Results
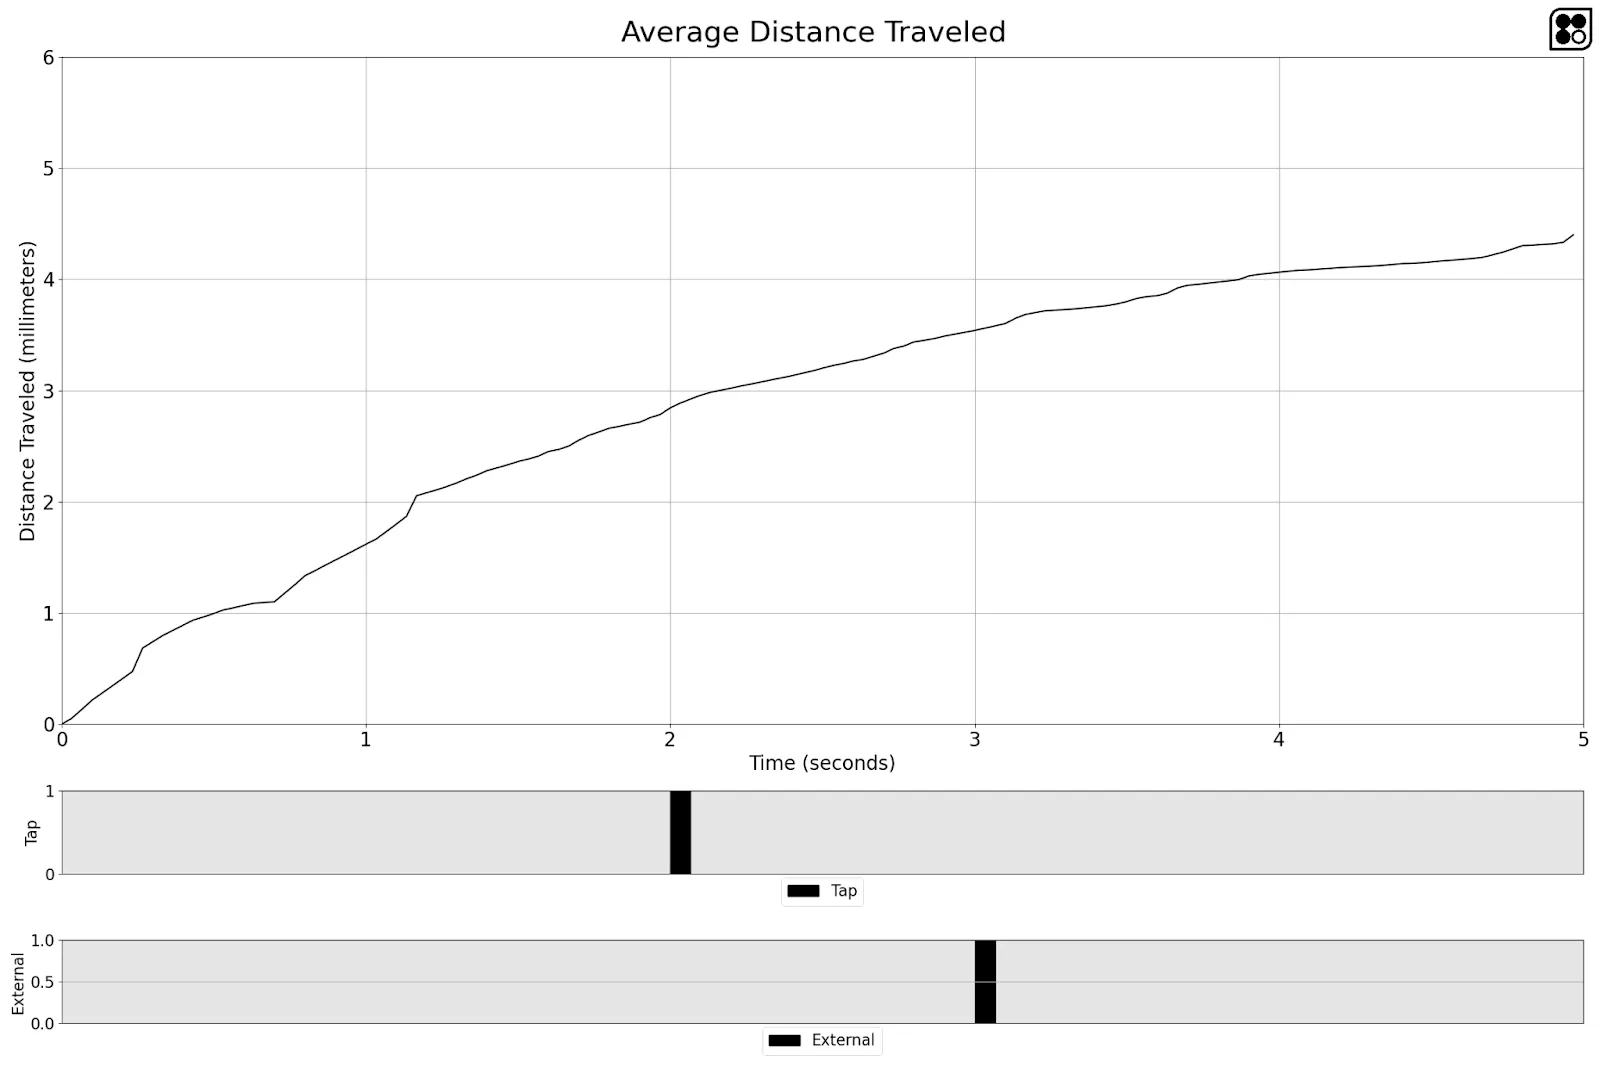
During the Kestrel’s development, we relied heavily on the output trigger to prototype behavioral experiments. Now, with version 0.19.244, stimuli events—including external triggers—are automatically saved in CSV files and visualized in behavior plots.
Check out the example below: a single tap at 2 seconds, an external stimulus at 3. Black shows when the external trigger is at 5V! The animals? Not impressed. But your experiment might reveal something new.
Ready to dive deeper? The documentation at docs.ramonaoptics.com has everything you need to get started. If you still have any questions, feel free to contact us at help@ramonaoptics.com and let us know your application!
At Ramona, we design tools that invite experimentation—not just accommodate it. The Kestrel already offers powerful built-in features—customizable illumination, vibration and tap stimuli, flash control, and support for fluorescence imaging. But research doesn’t always follow the script. Sometimes, you need to sync up with another system, fire off a stimulus at just the right millisecond, or log external events alongside your video.
That’s where the output hardware trigger comes in.
Since our very first MCAM system, we’ve offered this powerful add-on to help scientists synchronize video capture with external hardware in real time. Whether you're triggering a stimulus, syncing with an external camera, or logging events on an oscilloscope, this little module opens big doors.
Why Order the Kestrel with an Output Trigger?
The output trigger is a small but mighty PCB that converts the delicate low-voltage signals from the MCAM into robust 5V pulses—perfect for downstream devices. It connects via an SMA port on the back of your MCAM and includes key safeguards:
- Reverse voltage protection (because lab mistakes happen).
- Over-voltage protection (up to 20V).
- Signal amplification to drive long cables with ease.
Lab-proof. Scientist-friendly. Built for real-world use.
Flexible Software Control
We offer five software-controlled trigger modes—use just one, or mix and match to suit your workflow:
- Snapshot Start – Pulse when a snapshot is requested.
- Snapshot First Pixel – Pulse when the first pixel of that frame is received. (The delay between these two is your exposure time—cool, right?)
- Video Start – Pulse when video capture begins.
- Video Frame First Pixel – Pulse for each frame of a video.
- Manual Control – Trigger pulses exactly when you want, mid-video, mid-flash-stimulus, mid-anything.
Want to try it out? Go to the MCAM software, connect to your device, and open the Advanced Settings → Output Trigger tab.
There’s even a Test Stimulus button to simulate events and verify downstream behavior—useful for setup and debugging.
Real Experiments, Real Results
During the Kestrel’s development, we relied heavily on the output trigger to prototype behavioral experiments. Now, with version 0.19.244, stimuli events—including external triggers—are automatically saved in CSV files and visualized in behavior plots.
Check out the example below: a single tap at 2 seconds, an external stimulus at 3. Black shows when the external trigger is at 5V! The animals? Not impressed. But your experiment might reveal something new.
Ready to dive deeper? The documentation at docs.ramonaoptics.com has everything you need to get started. If you still have any questions, feel free to contact us at help@ramonaoptics.com and let us know your application!
Speakers
.png)
Choosing the Right Well Plate for Your Kestrel: Why Plate Compatibility Matters
.webp)
Microscopy, Python, and Open Source: Perfecting the Details
